Use Time Machine, the built-in backup feature of your Mac, to automatically back up all your personal data, including apps, music, photos, email, documents and more. Having a backup allows you to quickly recover files that you later delete or can’t access.
Create a Time Machine backup
- Connect an external storage device, such as a USB or Thunderbolt drive (see our Amazon suggestion).
- Open Time Machine preferences from the Time Machine menu
 in the menu bar. Or choose Apple Menu > System Preferences, then click Time Machine.
 - Click Select Backup Disk.
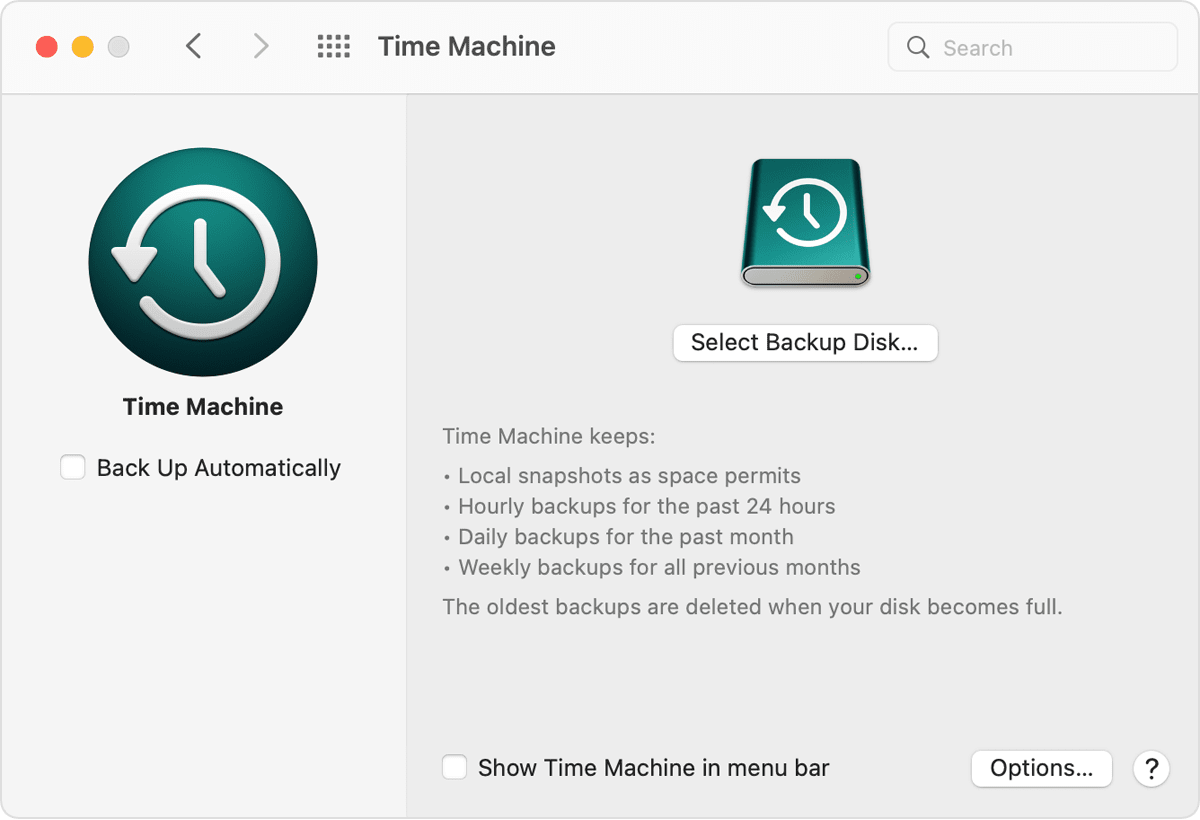
- Select the name of your disk, then click Use Disk. Time Machine immediately begins making periodic backups—automatically and without further action by you.
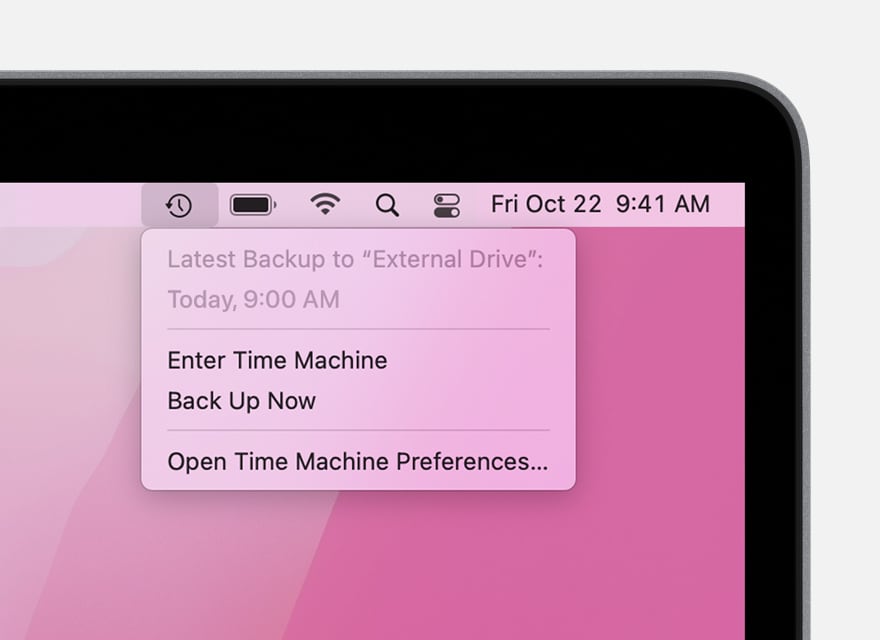
If you want to start a backup manually, without waiting for the next automatic backup, choose Back Up Now from the Time Machine menu ![]() in the menu bar.
in the menu bar.
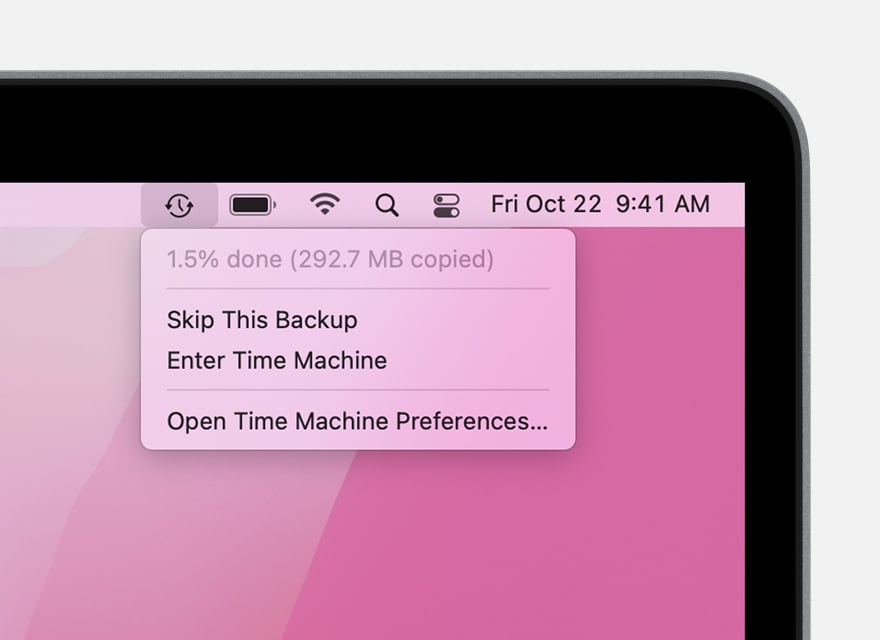
Use the same menu to check the status of a backup or skip a backup in progress. For example, if a backup is underway, the menu shows how much of it is done. When a backup is not underway, the menu shows the date and time of the latest backup.
Learn more about Time Machine
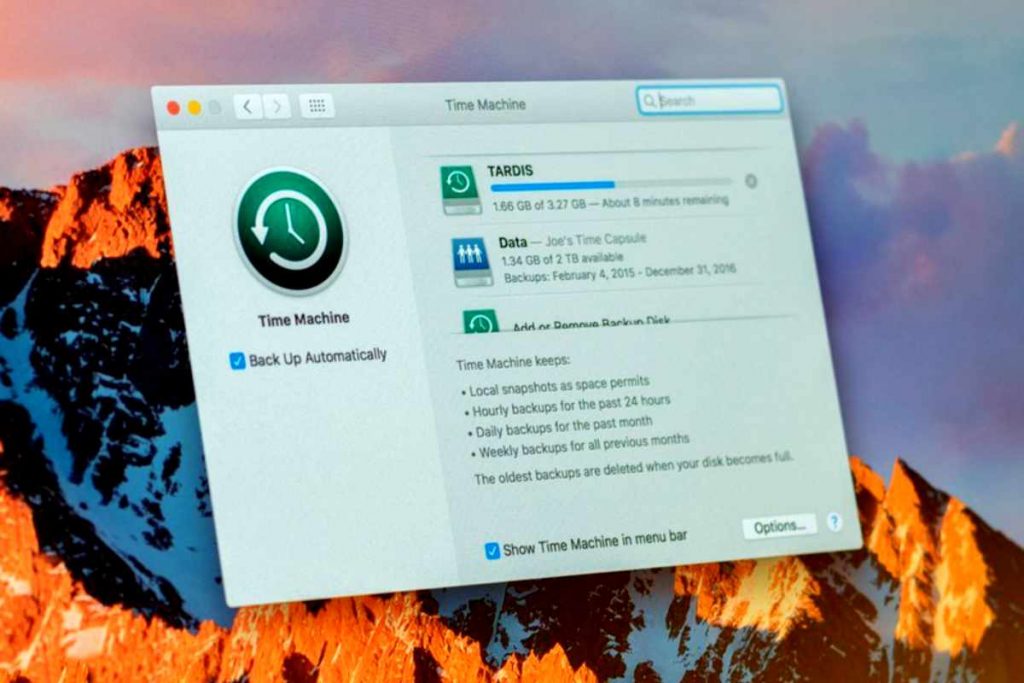
- Time Machine automatically makes hourly backups for the past 24 hours, daily backups for the past month, and weekly backups for all previous months. The oldest backups are deleted when your backup disk is full. The first backup might take a long time, but you can continue using your Mac while a backup is underway. Time Machine backs up only the files that changed since the previous backup, so future backups will be faster.
- To exclude items from your backup, open Time Machine preferences, click Options, then click the add (+) button to add an item to be excluded. To stop excluding an item, such as an external hard drive, select the item and click the remove (–) button.
- If you back up to multiple disks, you can press and hold the Option key, then choose Browse Other Backup Disks from the Time Machine menu.
How to use Time Machine with multiple Macs
When you use an external hard drive to back up different Macs, Time Machine automatically creates separate folders, one for each computer. If you ever need to restore data from the hard drive on any of your Macs, Time Machine understands which files match the specific computer.
To back up different Macs using Time Machine, you can:
Do it manually
The simplest way is to attach the backup drive to one Mac, let Time Machine run a backup, and then disconnect the drive and repeat the steps on another Mac. In each case, Time Machine works behind the scenes to get the job done.
The drawback to this approach is that you manually have to connect and disconnect the hard drive to each computer. Still, as long as you set up Time Machine on each Mac, you’re good to go.