If you’ve recently purchased a new external USB drive and want to use it with your Mac, you might need to reformat it first. Don’t worry; it’s an easy process! Here’s a step-by-step guide to help you get started.
Why Reformat?
When you buy a new USB drive, it may not be set up for your Mac. Reformatting ensures it’s compatible and ready for storing your files. Plus, it can help you clear any unwanted data or software that might come pre-loaded on the drive.
What You’ll Need
- Your Mac
- The new external USB drive
- A few minutes of your time
Step-by-Step Guide
1. Connect Your USB Drive
Plug your external USB drive into one of the USB ports on your Mac. You should see it appear on your desktop or in the Finder sidebar.
If you see a pop-up message from Time Machine, it means your Mac has recognised the external drive and is offering to set it up for automatic backups. I have made some notes at the bottom of this article which helps explain what to do if you intend to use the new dive for backing up your Mac.
2. Open Disk Utility
- Click on the Finder icon (the smiling face) in your Dock.
- Go to Applications > Utilities.
- Double-click on Disk Utility. This is the tool you’ll use to format your drive.
3. Select Your USB Drive
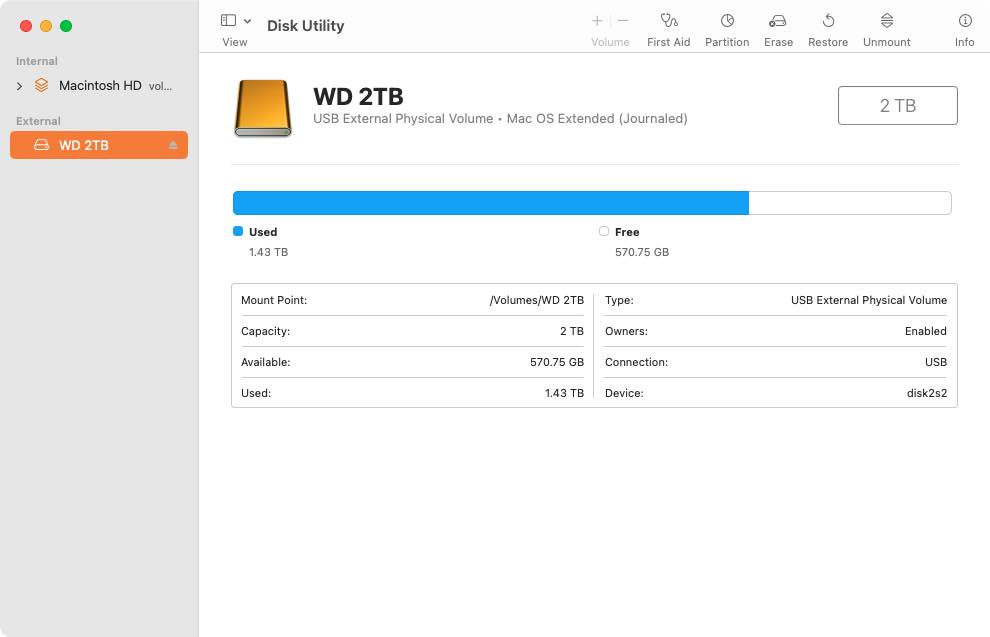
In Disk Utility, you’ll see a list of drives on the left side. Look for your external USB drive (it might be named something like “Untitled” or the brand name of the drive). Click on it to select it.
4. Erase the Drive
- With your drive selected, click on the Erase button at the top of the Disk Utility window.
- A new window will pop up asking for some details.
5. Choose the Format
Depending on the age of your Mac, you have two main options for formatting your drive:
- For newer Macs (2017 and later): Choose APFS (Apple File System). APFS is optimised for solid-state drives (SSDs) and flash storage, offering faster performance and better reliability. It became the default file system with the release of macOS High Sierra (10.13).
- For older Macs (pre-2017): Choose Mac OS Extended (Journaled). This format is ideal for Macs running macOS 10.12 (Sierra) or earlier and works well with mechanical hard drives. It ensures compatibility with older Mac systems and supports Time Machine backups.

You can also give your drive a name in the Name field. This is how it will appear on your desktop. We suggest naming the drive based on its size as it helps you quickly identify it when you connect it to your Mac. e.g. 2TB Backup or Client Files 2TB.
6. Erase and Reformat
- Once you’ve selected the format and named your drive, click on the Erase button in the window.
- A warning will appear, reminding you that this will delete all the data on the drive. If you’re sure, click Erase again.
7. Wait for the Process to Finish
Disk Utility will take a moment to reformat your drive. Once it’s done, you’ll see a message saying the process was successful. Click Done.
8. Eject Your Drive Safely
Before unplugging your USB drive, make sure to eject it safely. You can do this by right-clicking on the drive icon on your desktop and selecting Eject, or by clicking the Eject button next to the drive in the Finder sidebar.
Another way to eject the drive is to Drag it to the Trash: Click and hold the drive icon, then drag it to the Trash icon in your Dock. As you drag the icon over the Trash, it will change to an Eject symbol (an upward-pointing arrow). Release the Mouse Button: When you release the mouse button, the drive will be ejected.
You’re All Set!
Congratulations! Your new external USB drive is now formatted and ready to use. You can start transferring files, backing up important documents, or whatever else you need it for. Enjoy your new storage space!
Time Machine

When Time Machine prompts you to use a drive as a backup, it means your Mac has recognised the external drive and is offering to set it up for automatic backups. Here’s what you need to know about this process:
What Happens When You Accept the Prompt
- Drive Formatting: If the drive is not formatted correctly for Time Machine, your Mac will ask you to erase it. Time Machine requires the drive to be formatted as either APFS (for newer Macs) or Mac OS Extended (Journaled) (for older Macs).
Warning: accepting this prompt will erase all existing data on the drive. - Automatic Backups: Once the drive is set up, Time Machine will automatically begin backing up your Mac. This includes hourly backups for the past 24 hours, daily backups for the past month, and weekly backups until the drive is full.
- Exclusions: By default, Time Machine may exclude certain files or folders from backups, especially external drives. You can manage these exclusions by going to System Preferences > Time Machine > Options and adjusting the settings as needed.
- Encryption Option: During the setup, you may also have the option to encrypt your backups. This adds an extra layer of security, ensuring that your data is protected.
- Backup Management: Time Machine will manage the space on the drive, automatically deleting the oldest backups when the drive becomes full, unless you set a specific storage limit.
Considerations
- Drive Size: It’s recommended to use a backup drive that is at least three times the size of your Mac’s internal storage to accommodate multiple backups.
- Drive Type: Choose between portable and desktop drives based on your needs. Portable drives are convenient for laptops, while desktop drives may offer more storage capacity but require an external power source.
- Connection Method: Ensure the drive connects via USB, Thunderbolt, or FireWire, depending on your Mac’s ports for optimal performance.
By accepting the prompt to use the drive for Time Machine backups, you can ensure that your important files are regularly backed up, providing peace of mind in case of data loss.
Recommended External USB Drives
I regularly buy external portable and desktop drives for myself and customers, and found over the years that Western Digital (WD) are generally the most reliable. Below are just a few recommendations of their extensive range (please note the links are affiliate). If you have any questions or would like help setting up an external drive, please don’t hesitate to contact me.
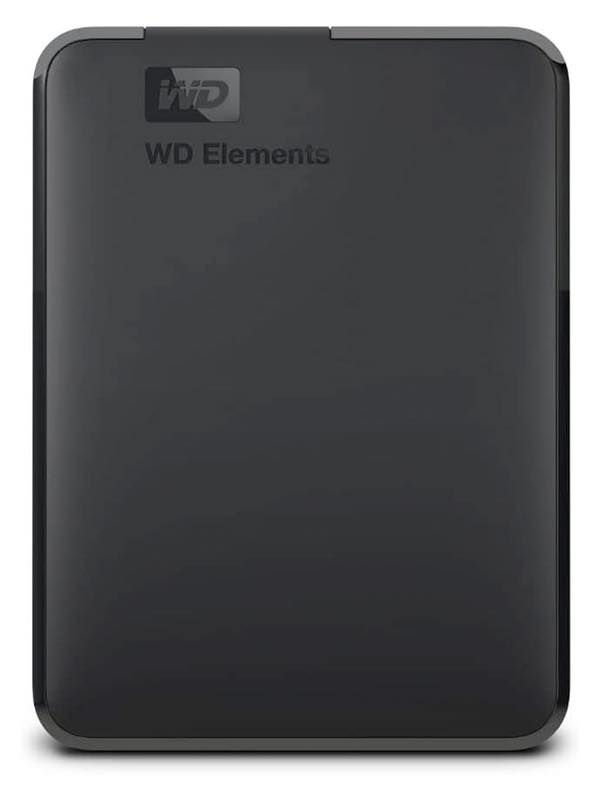
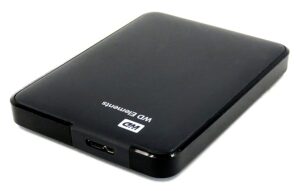
WD 2TB Elements portable external hard drive
Available in 1TB to 6TB in a lightweight design – I buy this reliable drive again and again.
WD 2TB Elements
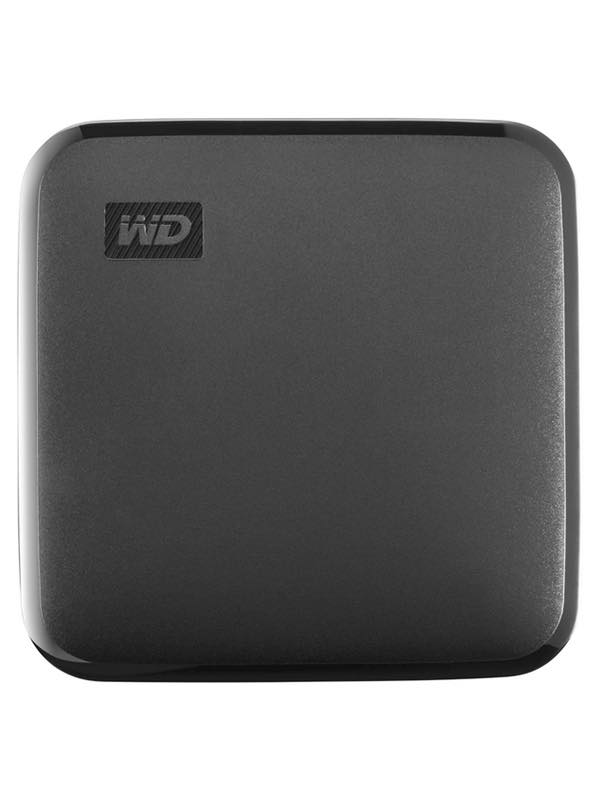
Portable SSD
An extremely convenient and affordable SSD drive, the perfect size to keep in your laptop bag.
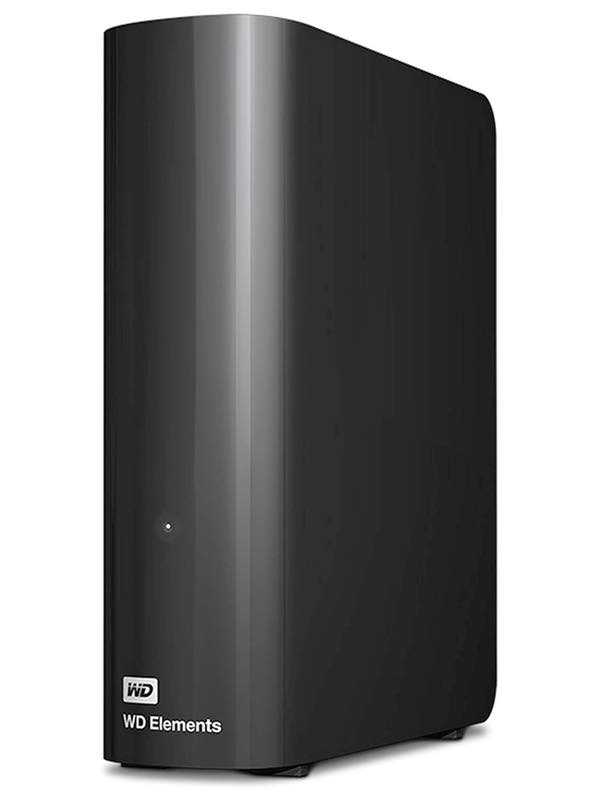
WD 6TB Elements Desktop External Hard Drive
With options from 6TB to 12TB, there’s more than enough space for all your files.